How to Deploy the Solution via App-Only Access for MS Graph [Office 365]
For users of the Email Sidebar on:

6 min read
Tip
See this article if your company uses an Office 365 mail server over Exchange Web Services instead of MS Graph. Or this article in case your company uses an MS Exchange On Premises mail server, or this article for Hybrid mail server deployment options
Note
Privacy and security of any data access and handling associated with RG Email Sidebar deployment procedures are guaranteed by the applicable Revenue Grid policies
RG Email Sidebar can connect to MS Office 365 mail accounts over app-only access for MS Graph, as a more up-to-date and versatile alternative to Exchange Web Services. See this article for complete information on using app-only access. Unlike the Impersonation deployment scenarios (see the links in the Tip above), this connection type does not require configuring an Impersonation service account.
For MS Graph app-only-access connection type, a special Profile-wide mass deployment procedure is used. Follow the instructions below to deploy the solution over app-only access.
The procedure consists of three Stages
Most steps are performed in RG Admin panel, except for the Admin consent permissions prerequisite configured in Microsoft Office 365 Admin center and RG access limiting to specific user accounts.
Stage 1. Create a Profile with app-only access via RGES Admin panel or convert an existing Office 365 Org to this connection type described in this section
Stage 2. Grant permissions consent via mail server Admin account described in this section
Stage 3. Verify the Configuration described in this section
Stage 1: Create an MS Graph app-only access Org via RGES Admin panel or switch users to MS Graph connection
To authorize Revenue Grid access to end users’ mail data over MS Graph, the local mail server Admin should:
1.1. Log in to RGES Admin panel with Admin credentials. You will see the default Org’s tab upon logging in
1.2. Create an Organization as described in this article:
- In the upper right corner of the Organizations tab, click New
- Fill in the Name field for the Org
- Fill in the External Id field (the value becomes read-only and cannot be changed later)
1.3. Click Save in the upper right corner to complete Org creation
1.4. Move existing Office 365 user accounts to this Org or provision new RGES users within it
To Switch a User to MS Graph Connection in Admin panel
Alternatively, in case RG Email Sidebar was originally deployed for the users over another connection type and you want to switch them to MS Graph, this possibility is implemented via RGES Admin panel. To do that, follow the steps below:
1. Log in to RGES Admin panel with Admin credentials. You will see the default Org’s tab upon logging in
2. Open the subtab Users
3. Click on the user that you want to switch to MS Graph
4. Click the ⚙ (Actions Menu) icon in the upper right corner of the tab and select Check Mailbox Connectivity in the picklist
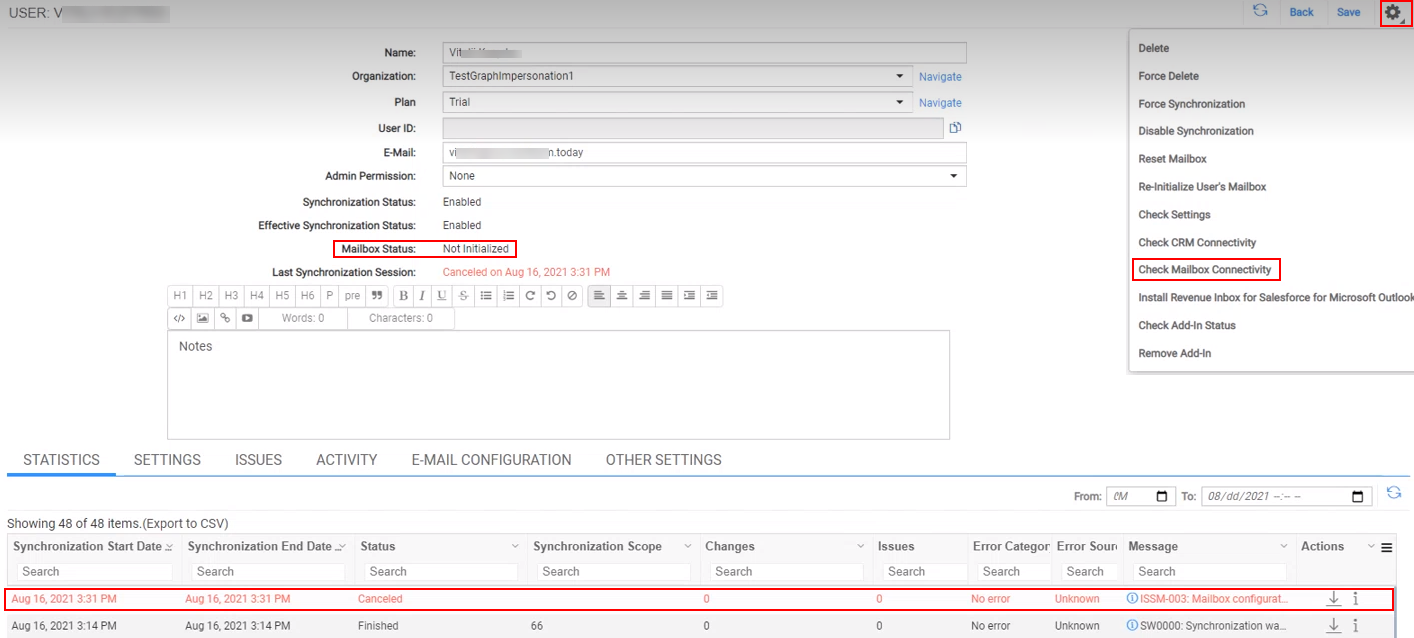
If the user presently belongs to an MS Graph app-only access Org, this action results in user switching to MS Graph app-only access connection.
You will see a Sync Error line Cancelled under user account details and if you click on it a notification about connectivity type switching being carried out will appear.

Connection type swtiching will be completed after the following successful RGES sync session. You may Force Synchronization from the user’s page to expedite that.
As soon as switching is complete for the user, the indication Mailbox Status will change to Initialized.
Stage 2: Grant permissions consent by mail server Admin account
On Microsoft 356 Admin Center Side, the RG Email Sidebar App requires the following set of access consent permissions. See this Microsoft article for complete information an app permissions configuring.
To authorize RG Email Sidebar access to end users’ mail data over MS Graph, the local mail server Admin should do the following:
2.1. Log in to RG Admin panel with Admin credentials.
2.2. Find the necessary profile and open the Connectivity subtab
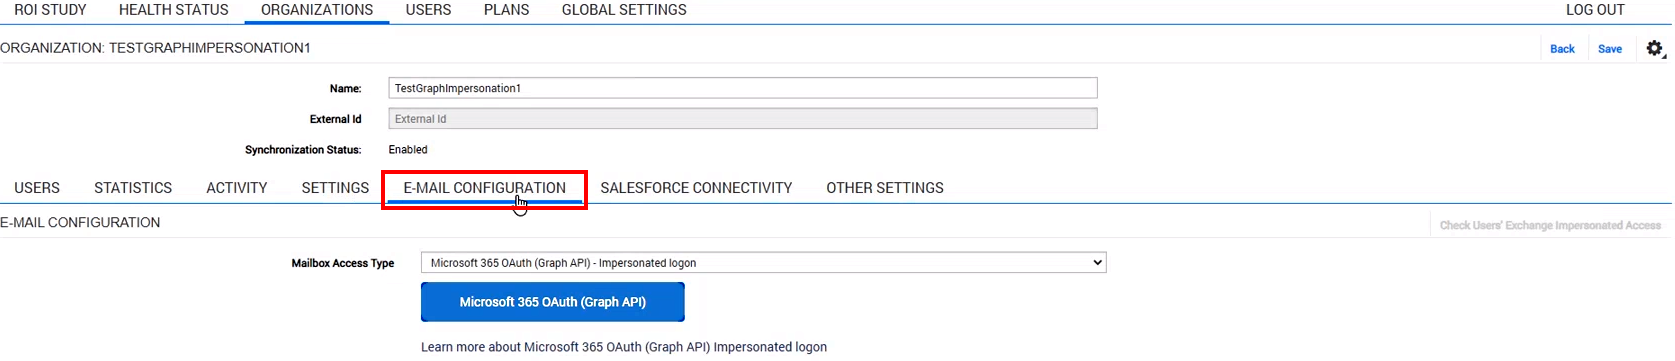
2.3. Click the button Microsoft 365 OAuth (Graph API)
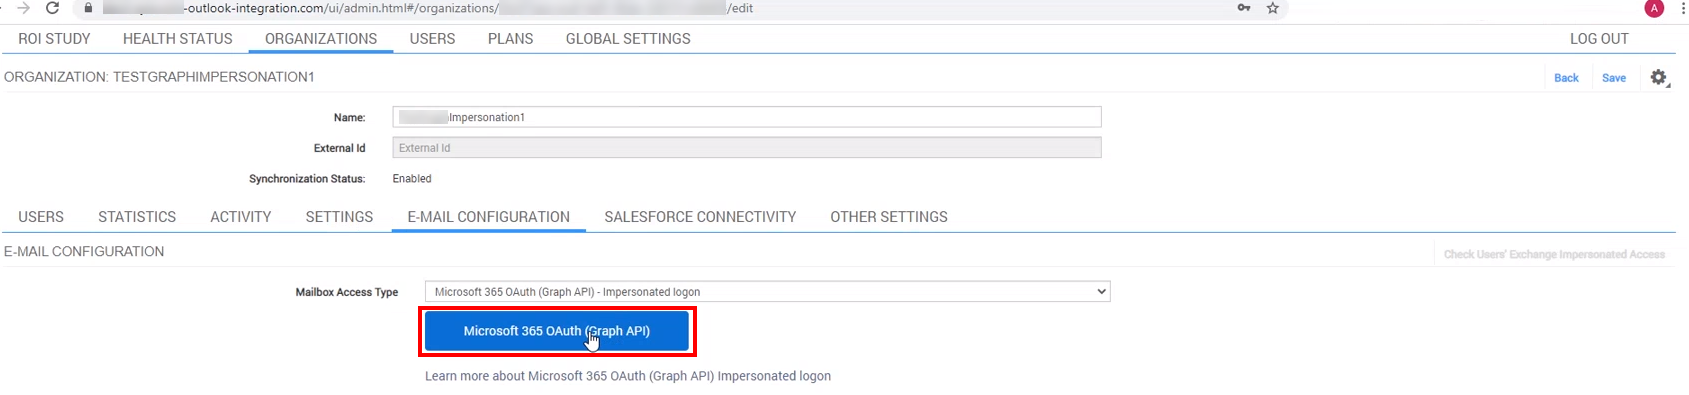
2.4. A standard Office 365 OAuth window will appear. Select Microsoft 365 Admin’s account or enter the login credentials in the dialog. Don’t worry, this authorization will be used exclusively to grant the access permissions for MS Graph app-only access
>>> Click to see a screenshot <<<
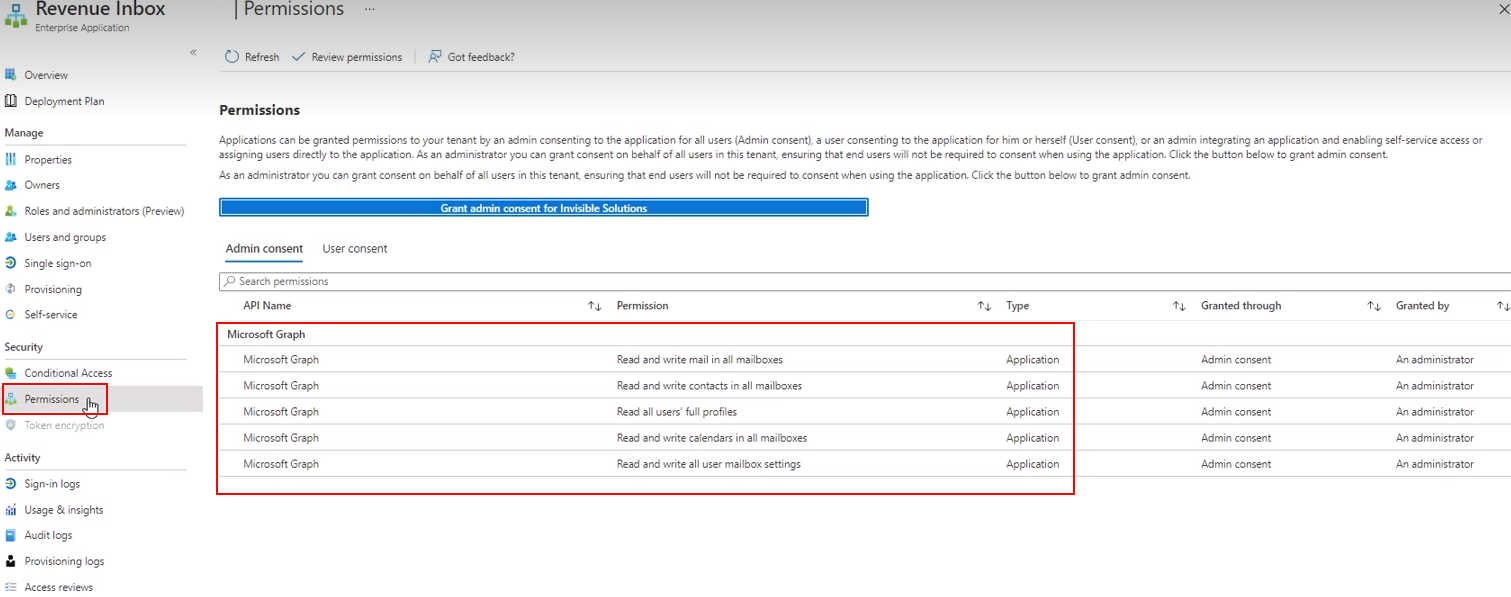
2.5. Next, you will see the Permissions authorization dialog
On RG Email Sidebar side, the set of permissions is individually configured for every Enterprise customer’s Org by our Support team. Each permission is required to provide a specific RG Email Sidebar function, so if some permissions are not granted the corresponding features become unavailable
>>> Click to see the full permissions list and a screenshot <<<
The complete list of permissions
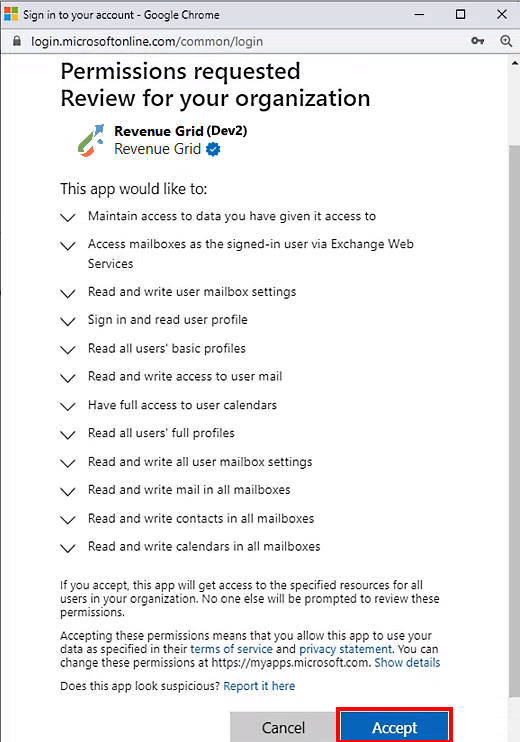
Click Accept in the bottom right corner of the dialog to grant the permissions.
If everything went well, you will see a notification “Signed in successfully”, then will read Impersonation status: Authorized in the Email Configuration tab.
RGES App Access Limiting to Specific User Accounts (optional)
In many configurations RGES mailbox data access granted over app-only access must be limited to a specific group of entitled users. That is accomplished using Blacklist and Whitelist settings.
Follow the steps below to set the exact list of entitled users. Based on this Microsoft article.
Configure ApplicationAccessPolicy
To configure an application access policy and limit the scope of application permissions:
1. Connect to Exchange Online PowerShell. For details, see Connect to Exchange Online PowerShell
2. Identify the app’s client ID and a mail-enabled security group to restrict the app’s access to
- Identify the app’s application (client) ID in the Azure app registration portal
- Create a new mail-enabled security group or use an existing one and identify the email address for the group
3. Create an application access policy
Run the following command, replacing the arguments for AppId, PolicyScopeGroupId, and Description
New-ApplicationAccessPolicy -AppId e7e4dbfc-046f-4074-9b3b-2ae8f144f59b -PolicyScopeGroupId [email protected] -AccessRight RestrictAccess -Description "Restrict this app to members of distribution group EvenUsers."
4. Test the newly created application access policy.
Run the following command, replacing the arguments for Identity and AppId.
Test-ApplicationAccessPolicy -Identity [email protected] -AppId e7e4dbfc-046-4074-9b3b-2ae8f144f59b
The output of this command will indicate whether the app has access to User1’s mailbox.
That the changes to app access policies can take up to 30 minutes to get applied in Microsoft Graph REST API calls.
Stage 3: Verify the Connectivity
3.1. Log in to RGES Admin panel with Admin credentials. You will see the default Org’s tab upon logging in
3.2. Open the subtab Email configuration
3.3. Click Check Users Exchange Impersonated Access in the upper right corner of the tab
As soon as you click on this button, all user accounts moved to the MS Graph app-only access Org get automatically re-configured to work over app-only access connection.
If everything was configured correctly, you will see a green indication that app-only connection connection of all users in the Org was successful:
Status: Success Check Results: connected successfully

We would love to hear from you!