How to set up AirCall voice calls for Revenue Grid
3 min read - updated few hours ago
4 min read
This article describes how to connect AirCall to Revenue Grid for making voice calls from RG Action Center or Revenue Grid Dial widget in Salesforce.
The AirCall setup for Revenue Grid consists of the following stages:
A prerequisite for using the AirCall integration is to have an active account and phone numbers in AirCall. Follow the steps described below to set up and configure the basic AirCall account.
Tip
If you already have your account configured and phone numbers created, skip sections 1 and 2, and proceed with the next one.
1. Create an AirCall account
Go to https://aircall.io/ and create an account.
You can learn more about setting it up in this AirCall onboarding article.
2. Create a phone number
Follow the steps described in this article or in our guide below to create your first phone number in AirCall.
2.1. Log in to the AirCall Dashboard
2.2. Click Create or port number in the upper right-hand corner of the Number overview page
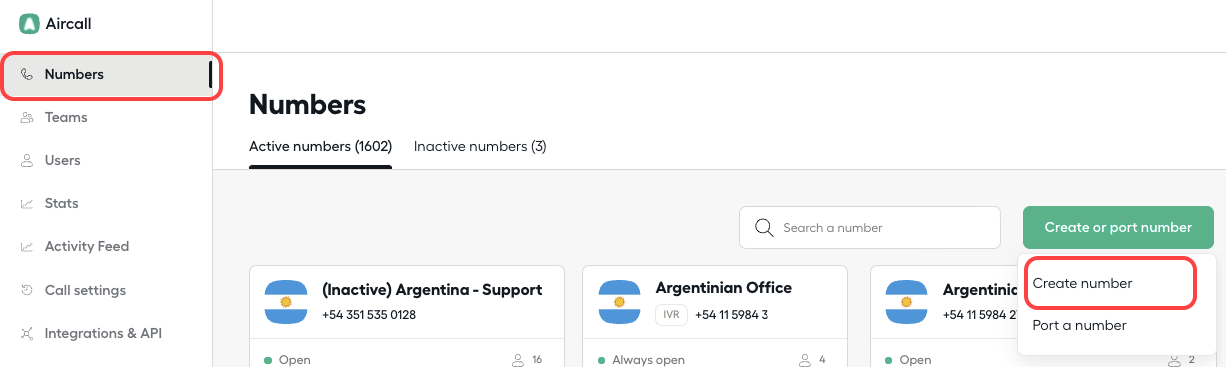
2.3. Select Create a number from the drop-down list
2.4. Next, select the number type: a Classic Number or an IVR Number
2.5. Specify the details:
-
Location
-
Type: toll-free or local number
-
Area code
-
Number’s name
-
Assign a team or a user to the number (optional)
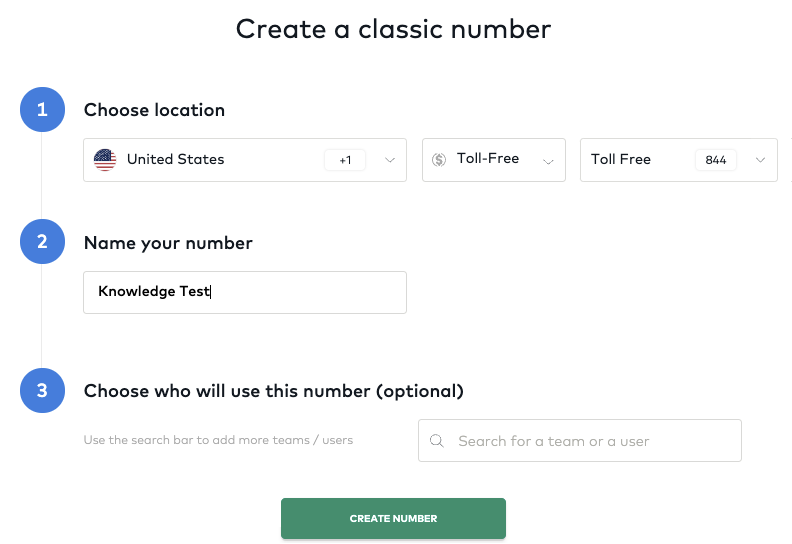
2.6. Click Create number
3. Connect AirCall to RG
The steps described below are performed by the admin.
3.1. Log in to the AirCall Dashboard
3.2. In the left-hand-side navigation menu, go to Integrations & API > API keys
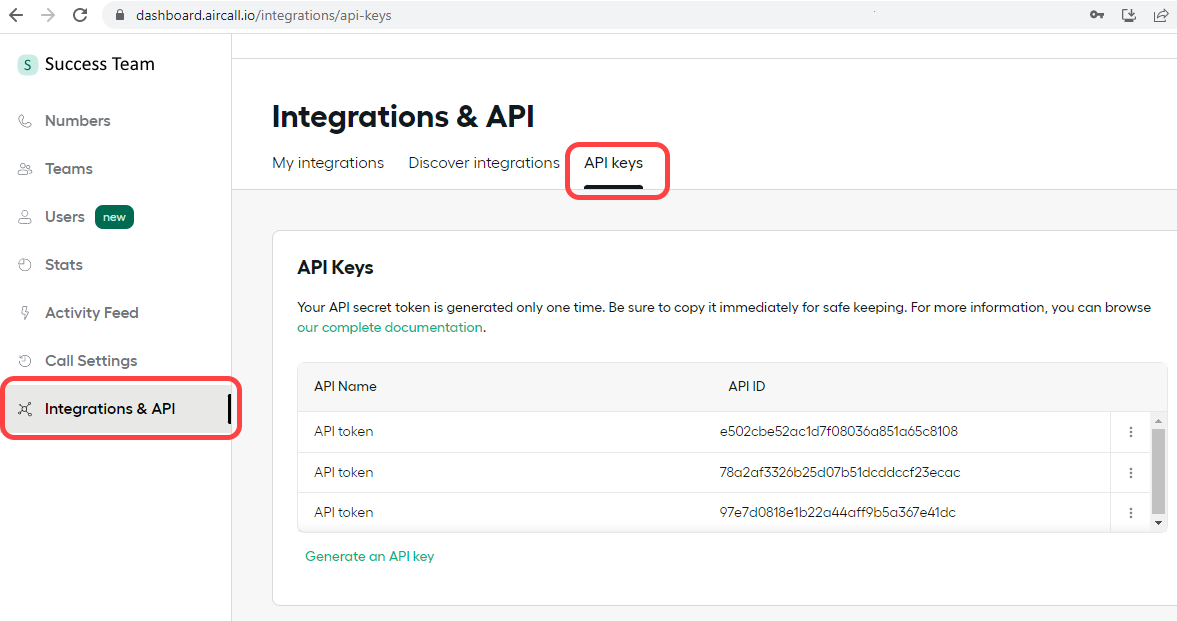
3.3. Click Generate on API key
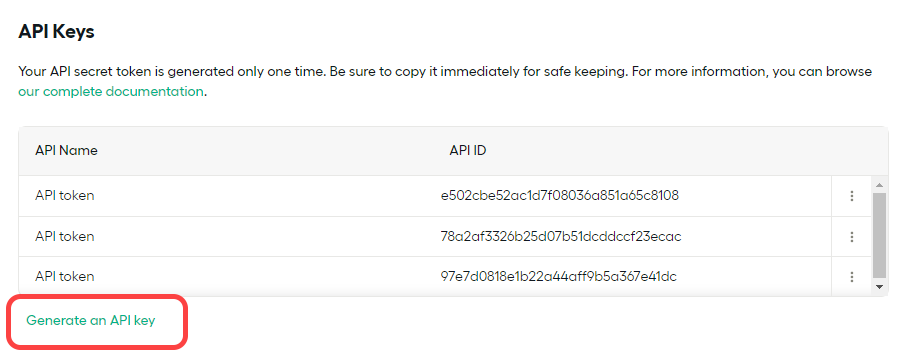
3.4. In the Generate API key dialog, copy API ID and API Token values and save them in a text editor for further use.
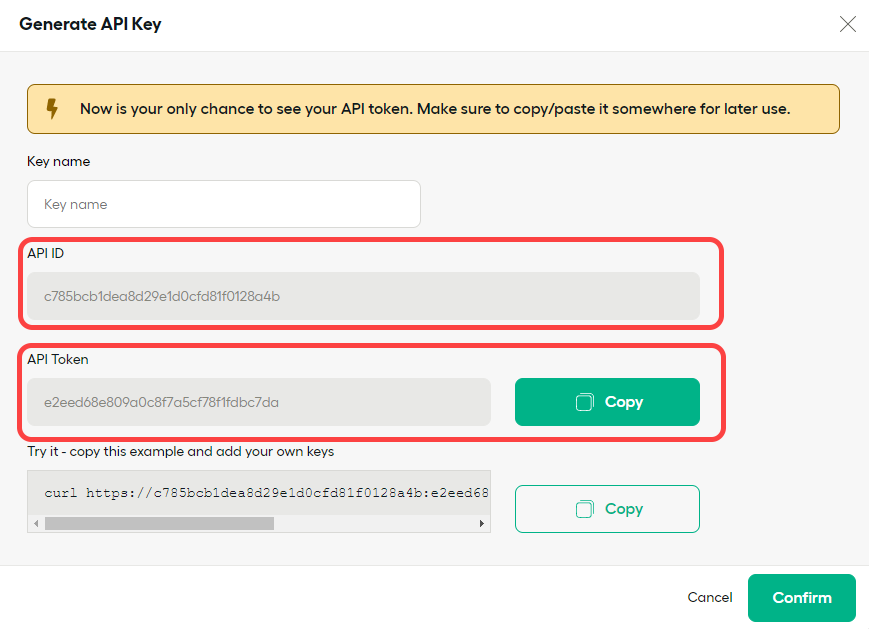
Important
Close the dialog only after you have copied the API ID and API Token values. If you close the dialog without copying and saving both values in a text editor, you will need to generate new API key as described in steps 3.3-3.4.
3.5. Log in to Revenue Grid
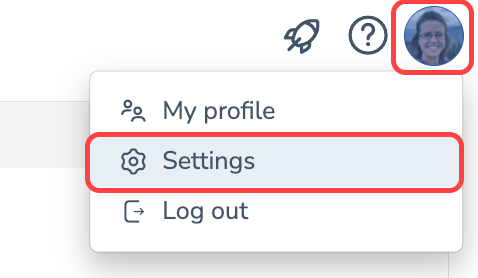 3.6. Click on your profile photo in the upper-right-side corner of the interface and go to Settings
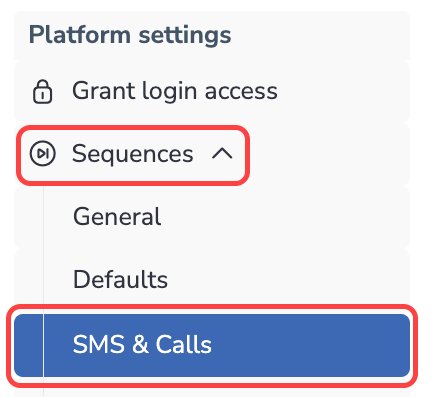 3.7. Next click on Sequences under Platform settings
3.8. Go to SMS & calls
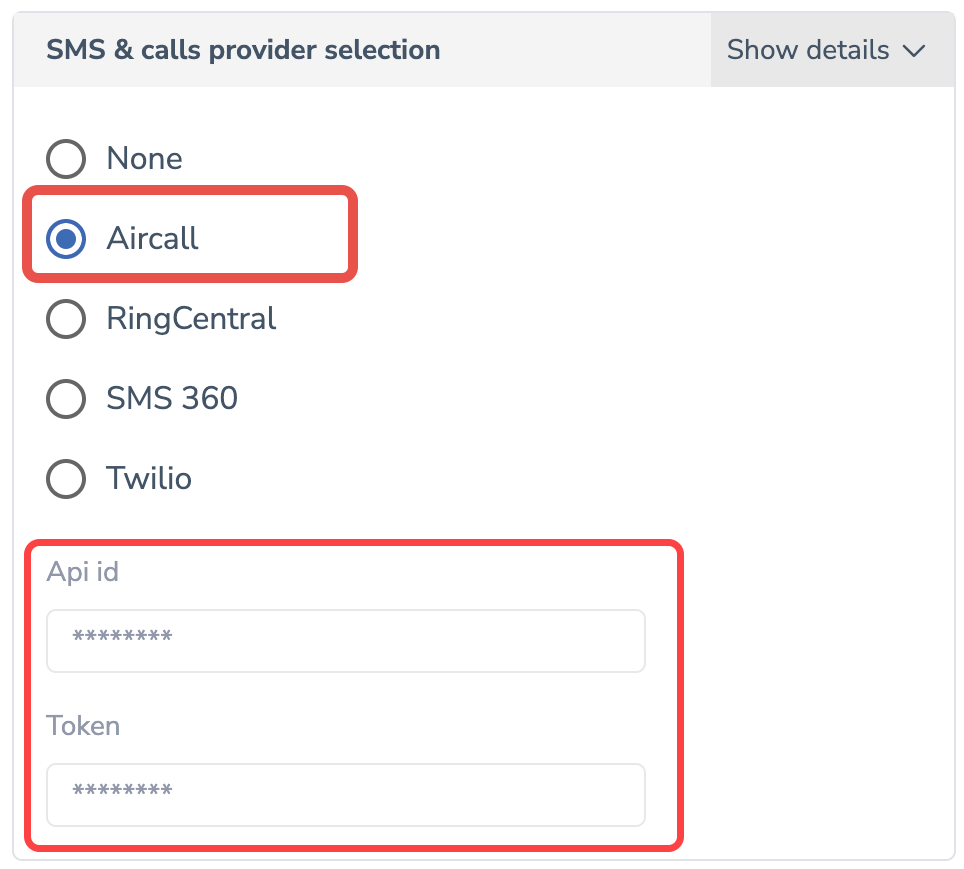 3.9. Select AirCall on the list of available providers
3.10. Insert the values copied in the step 3.4 in the corresponding boxes
3.11. Click Save at the bottom of the page to enforce the changes
4. Assign numbers to individual users in Revenue Grid
This step can be performed by admins for individual users or by very individual users who will be using AirCall in Revenue Grid.
An extra step for admins: Under Administration, click Users, find the necessary user on the list and proceed with step 4.4.
4.1. Log in to Revenue Grid
4.2. Click on your profile photo in the upper-right-side corner of the interface
4.3. Go to Settings
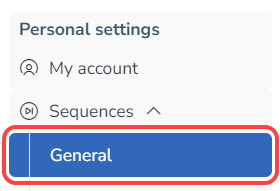 4.4. Click on Sequences under Personal settings
4.5. Go to the General tab
4.6. In the Phone settings section, select the necessary Communication user and Voice number from the drop-down lists.
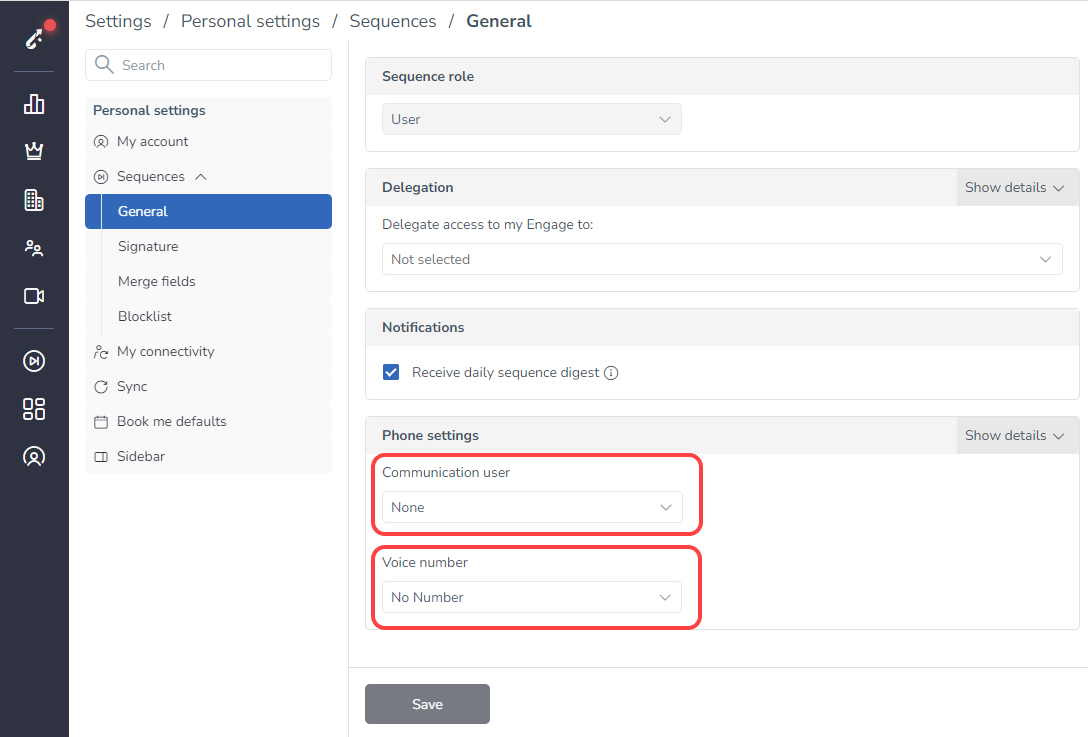
The Communication user and Voice number lists are based on the information about added users and phone numbers retrieved from AirCall. You can learn more about adding users in AirCall dashboard in this article and how to configure calls distribution and assigning users to phone numbers in this article.
Important
One phone number must be assigned to one communication user in Revenue Grid. Assignment of one voice number to multiple users is not possible
5. Using AirCall integration in RG
After selecting Communication user and Voice number, Revenue Grid will use the corresponding number for making voice calls from the Action Center or from the Dial out widget in your Salesforce interface.
Due to AirCall limitation, the integration in Revenue Grid supports only making calls while sending SMS is not available.
Making calls with AirCall integration
When recipients reach a phone call type of step, you will see a corresponding notification on the To-dos tab in your Action Center.
The cell phone number of the recipient is retrieved from Salesforce. If the phone number field is blank, you can type in the number. Note that manually typed in numbers won’t be saved to Salesforce.
A prerequisite for making calls from the Action Center is to have the AirCall app opened and logged in with the user that is specified in the Communication user field in Revenue Grid. It can be a desktop or mobile app, or Salesforce integration.
After you click the Make a call button in the Action Center, the AirCall app will start dialing and the phone call will take place in the AirCall app.
Important
To make a call, when clicking the Make a call button in the Action Center in Revenue Grid, you must also have the AirCall app opened and logged in with the user that is specified in the Communication user field in Revenue Grid. If the app is not opened and logged in, you will not be able to make calls.

We would love to hear from you!